DOMANIALE
$385.00 USD per panel

Best sellers


Archive 1908 Collection The revival of this historic stripe, with its clean lines inspired by nature.
The dimensions below describe the design and its standard formats. Your order dimensions depend on the selected format and options.

OUR CLASSIC PAPER
Our standard ultra matte paper offers a smooth finish for residential interiors. PVC-free, FSC certified and formaldehyde-free.

EASY TO HANG
Activate the pre-applied paste with water for easier hanging.

DURABLE & WASHABLE
Designed for busy spaces, this durable paper is washable and impact-resistant. PVC-free, FSC and UL Greenguard Gold certified.

TEXTURED
Made from natural agave fibers, sisal adds warmth and texture. Available for selected designs.
INSTALLATION
Choose your format and paper, then open a step to read the instructions.
The package contains one roll with the drops placed one after another and numbered in hanging order, separated by dotted lines.
The package contains several drops rolled together, along with a hanging plan for your made-to-measure design.
The package contains a 10 m roll of your pattern.
Fill any holes, sand and remove dust. Mark a vertical guide using a plumb line or laser level so that the first drop hangs perfectly straight.
Cut the drops along the dotted lines, then lay them on the floor in hanging order.
Measure the wall height and allow an extra 5 cm at the top and bottom for final trimming. Position the mural to achieve your preferred crop, then check the joins before hanging.
No cutting is needed to separate the drops: each one is numbered and hangs from left to right. Lay the complete design on the floor to see the whole picture before starting.
Measure the wall height and allow an extra 5 cm at the top and bottom for trimming. Position the pattern to achieve the desired result, then check the joins before hanging.
Paste the wall section by section, covering an area slightly wider than the drop. Use a specialist paste suitable for your chosen paper and work in even strips.
Thoroughly wet the entire back of the wallpaper with water, including the edges, to activate the adhesive.
Hang the first drop along your vertical guide, then smooth from the centre towards the edges to remove air bubbles. Hang the next drops edge to edge without overlapping, then trim the excess at the top and bottom with a craft knife and ruler.
Hang the first drop along your vertical guide, then smooth from the centre towards the edges to remove air bubbles. Hang the next drops edge to edge without overlapping, carefully matching the pattern. Finally, trim the excess at the top and bottom with a craft knife and ruler.
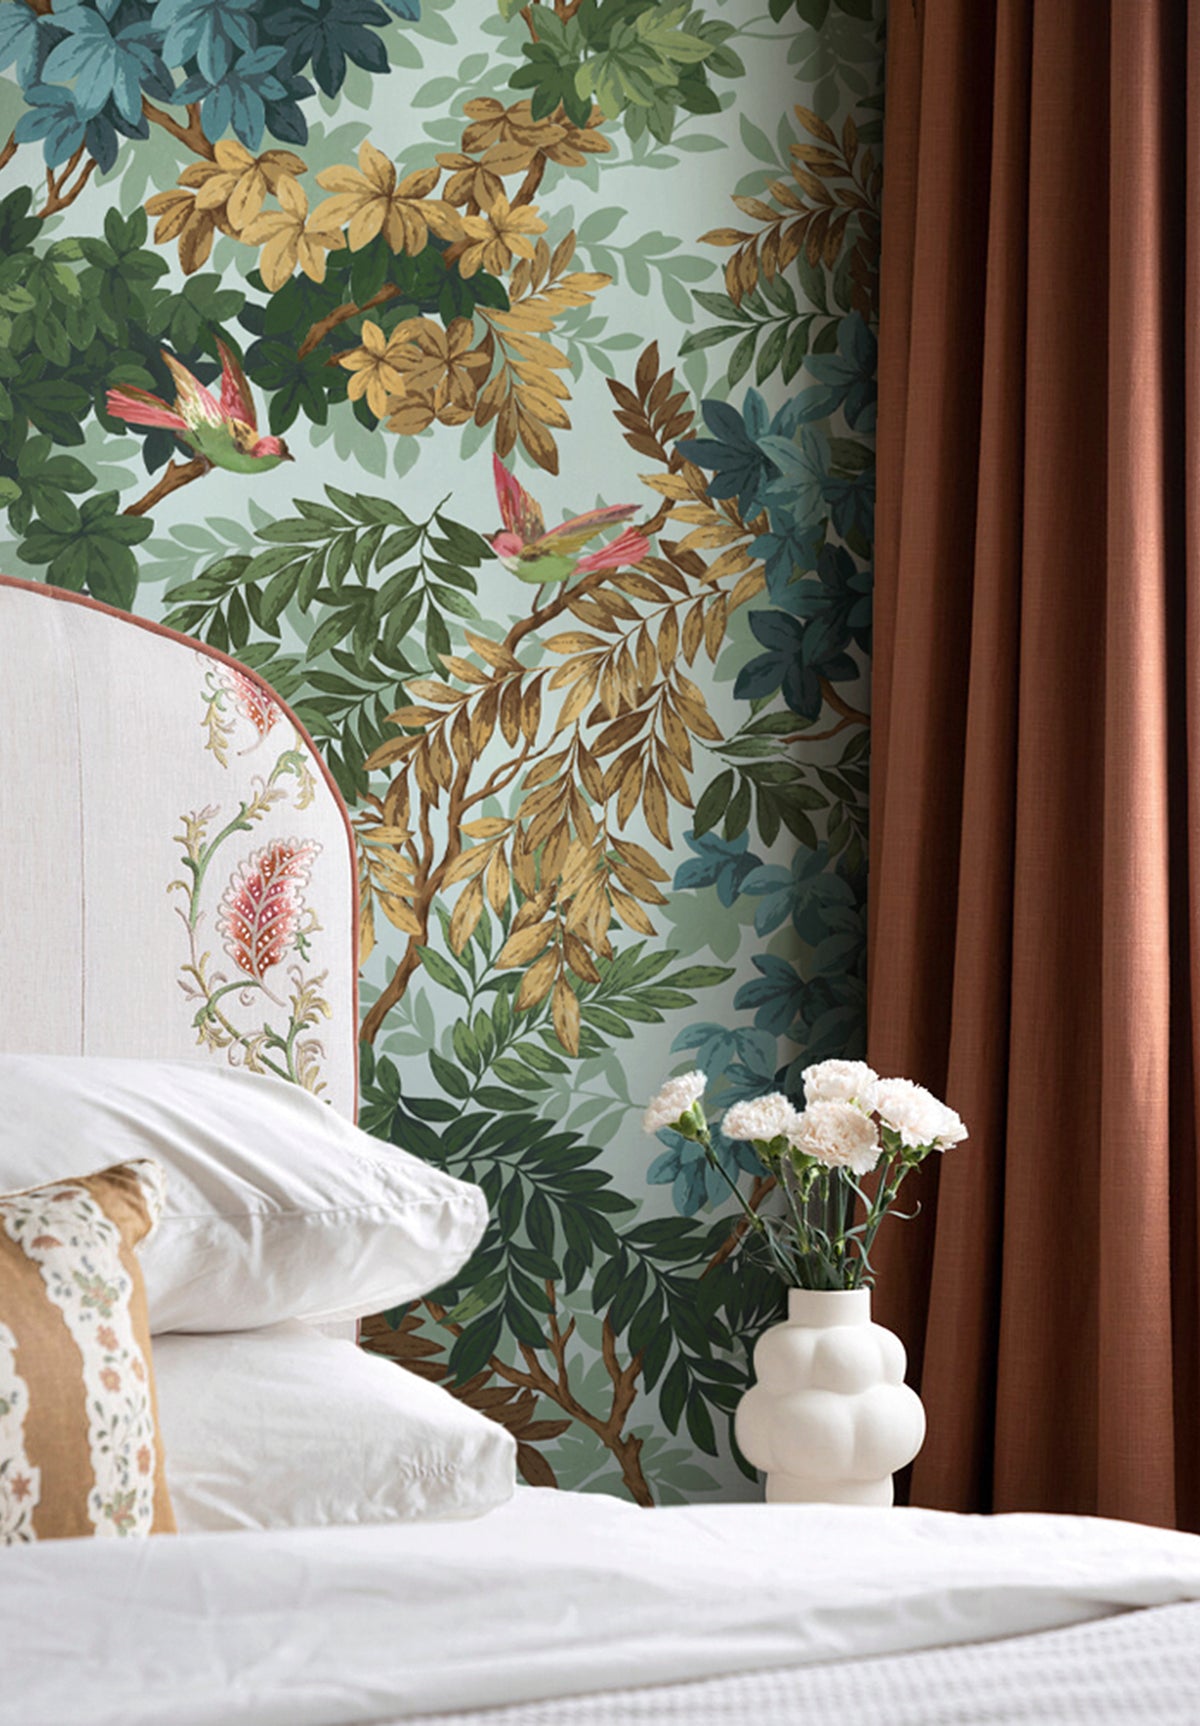
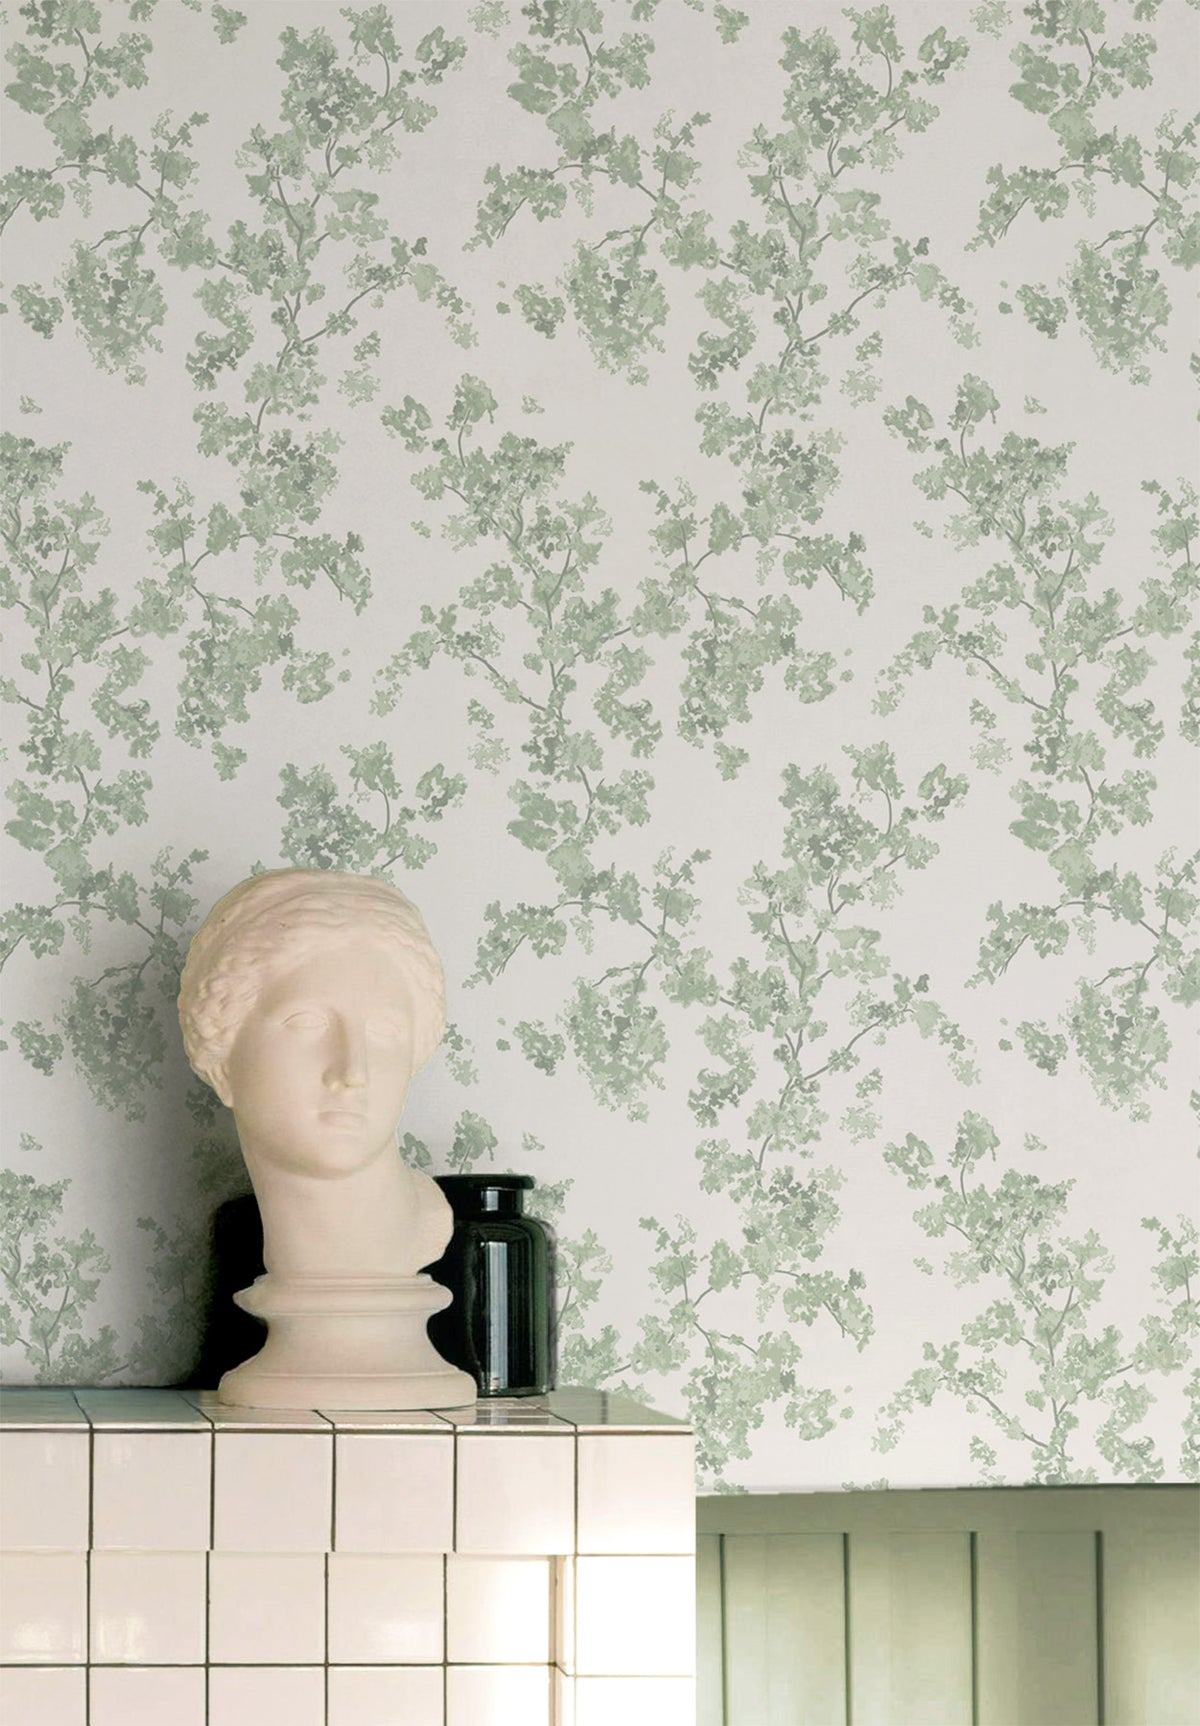
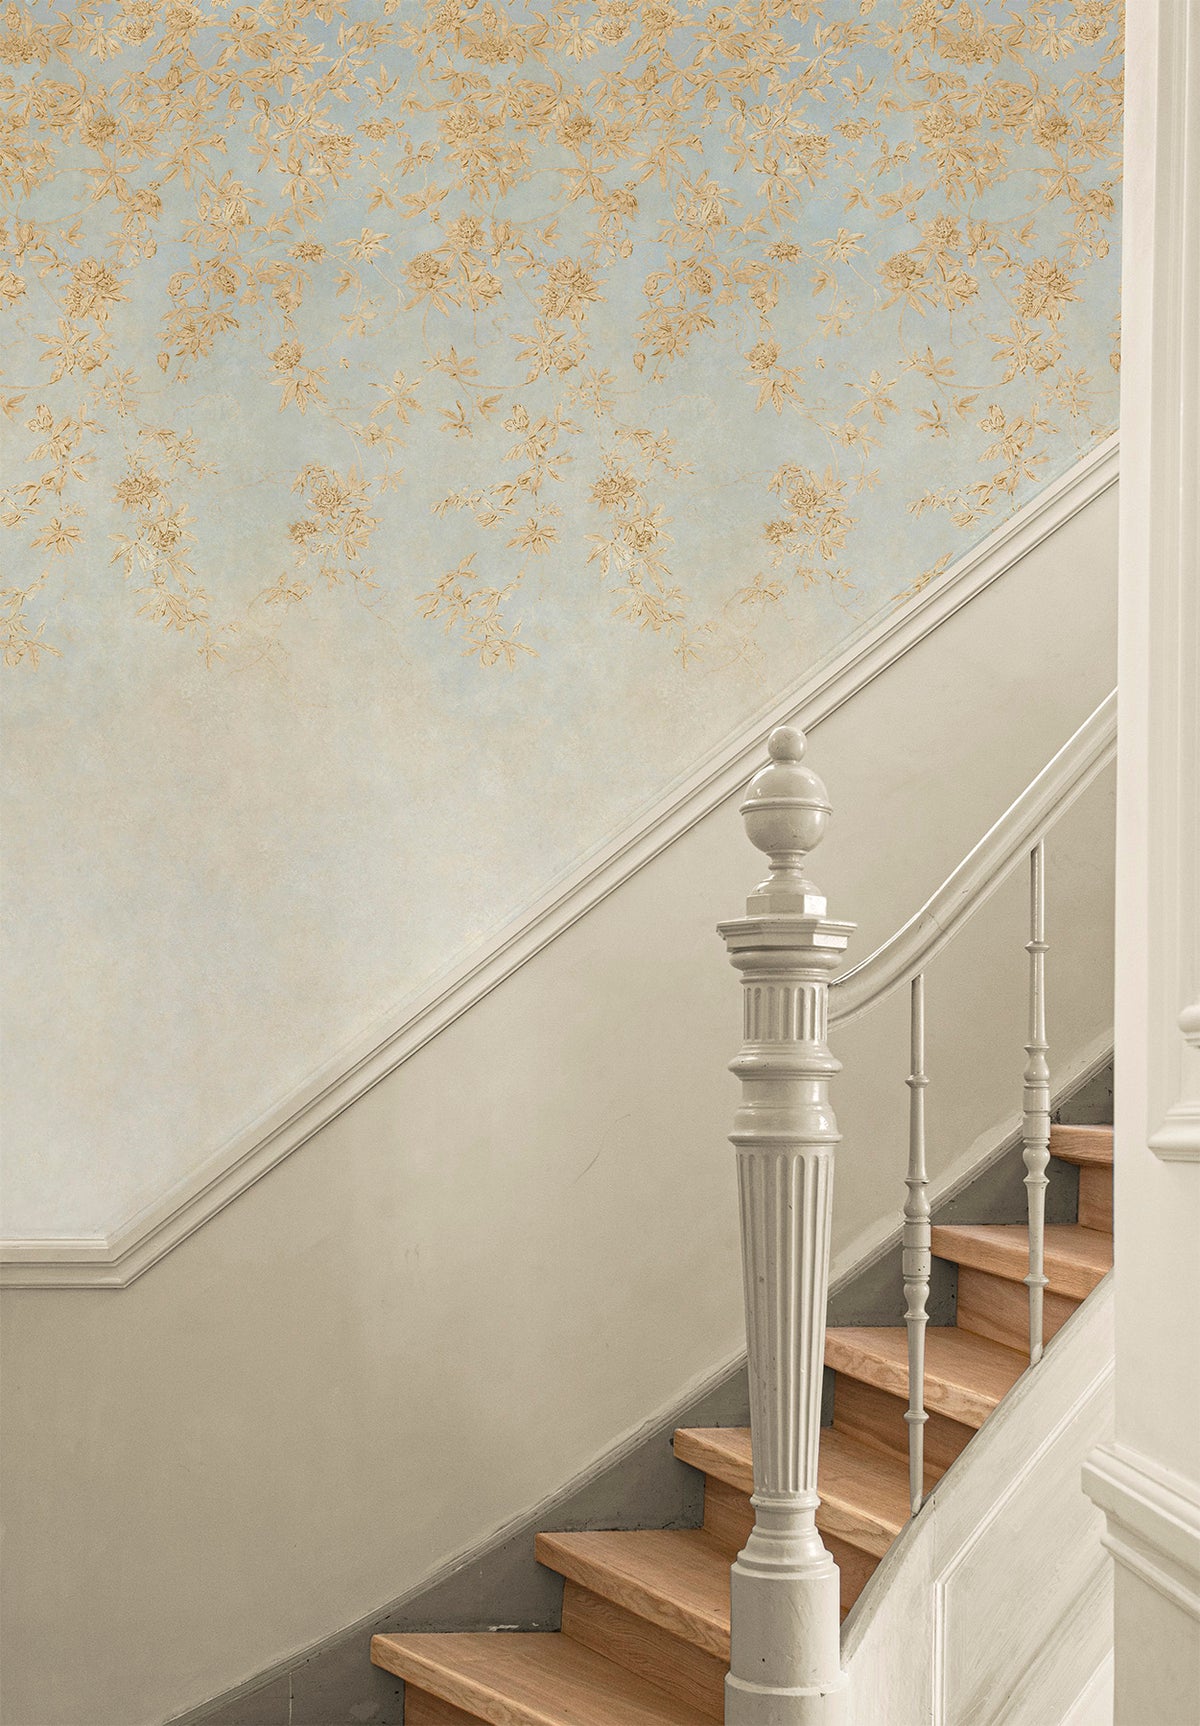
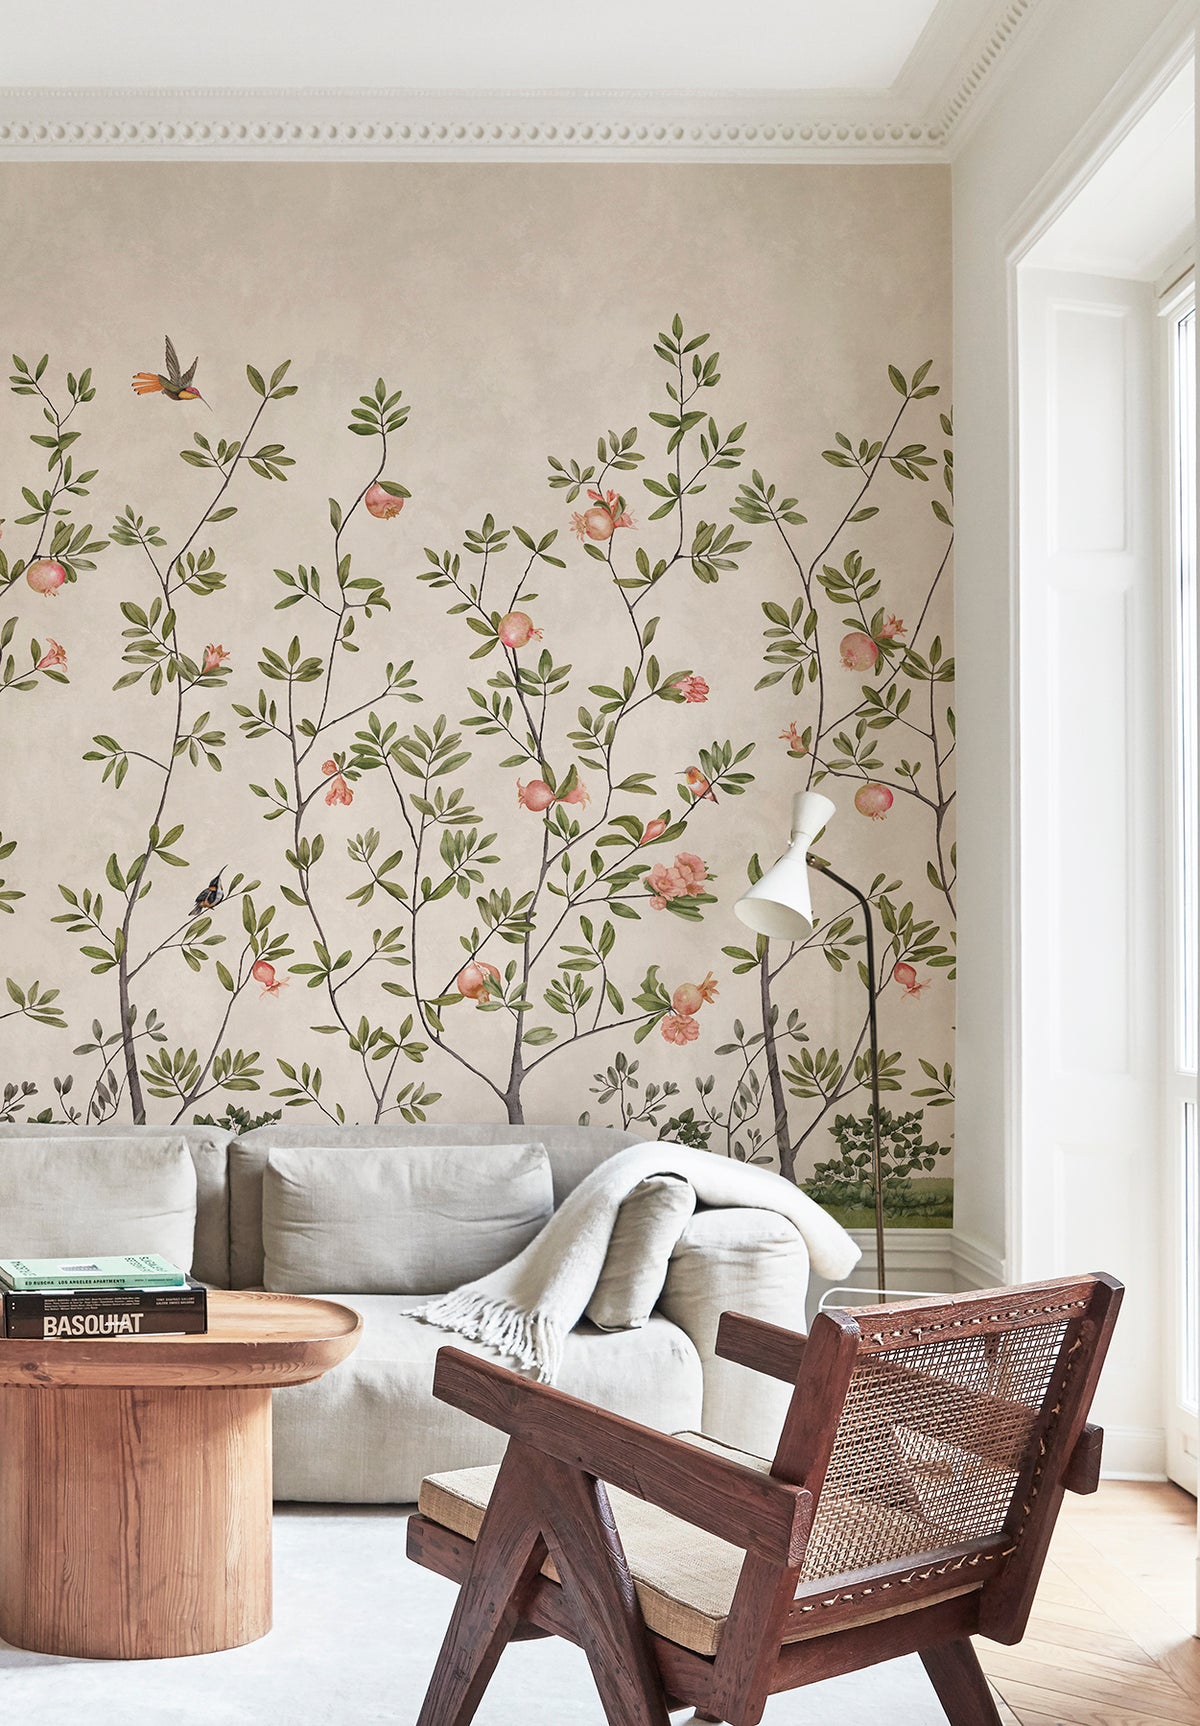
INSPIRATION


RECENTLY VIEWED